Sunday 30 September 2012

Masterboard Tutorial

Hi all, Kerry here with my final instalment of ideas for backgrounds, the reason I have been doing this through September as today over on the Challenge Blog I am hosting this fortnights challenge which is 'Make your own Background', this could be a background make from the beginning or simply altering some patterned paper by embossing or stamping etc.  Hopefully I have gave you enough inspiration to have a go and be in with a chance of winning as our sponsor is Crafters Companion.

This last background I want to show you is something called a masterboard, it's when you grab a large piece of card (I used 12by12) and start making a huge background that can be cut up and used on loads of different cards, a great way for quick and easy cards or for a canvas, altering piece etc.  This is my first time I have done them myself so really it's not so much as a tutorial as watching me have a go lol.

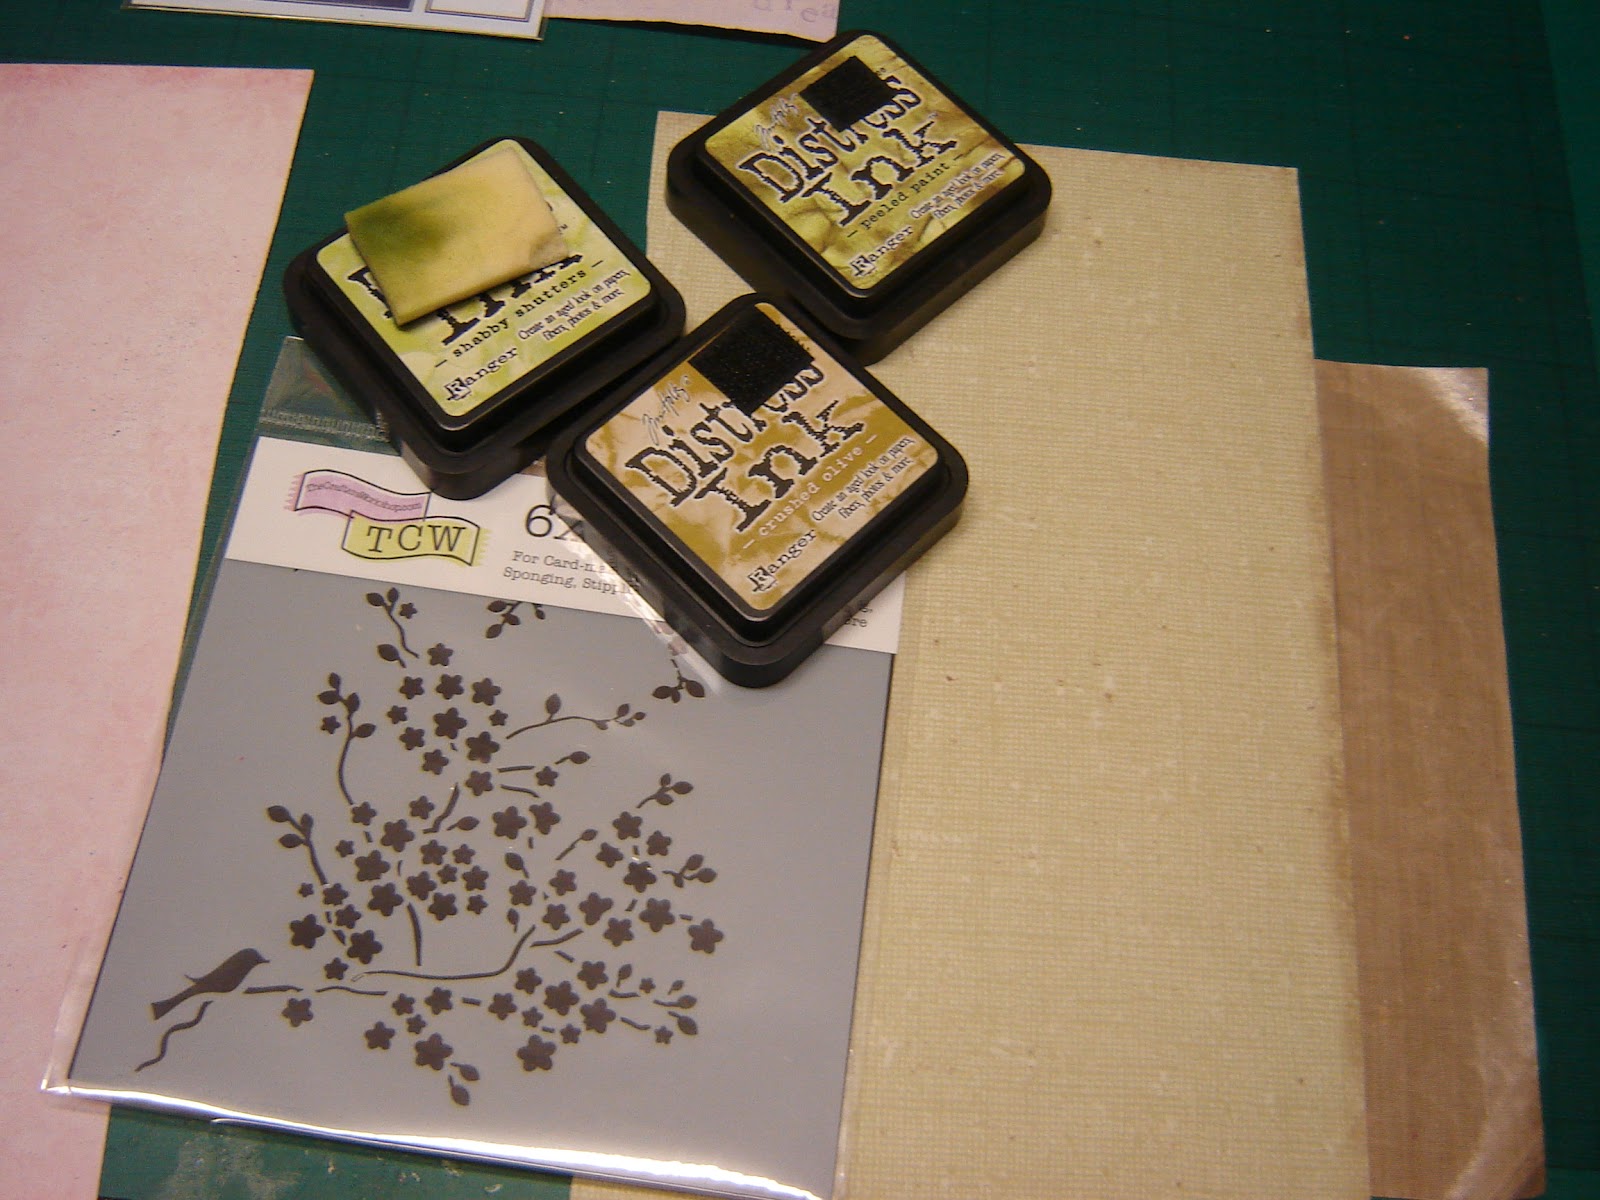
I took these as my inspiration for the colour I was going to use,
I hate choosing colours so this really helped me

I started with a blank piece of 12by12 card, and stamped
randomly with versamark dazzle, make sure some are
stamped off the page, and keep rotating the card around
so the images are not all the same way.

As I was stamping in the versamark I kept lightly adding the colours
I was going to use over the areas where I stamped, this helped me
see where I had stamped with the versamark so I didn't over stamp
all the images.

Think I missed taking a picture lol, I coloured all over
with my chosen colours then sprinkled water on areas to give
a texture feel.

I then went mad stamping all over with black archival ink pad
feeling every available space, also remembering to turn the card
so the images where all stamped in different directions.

 Then I stamped some images with versamark again and embossed
them with white embossing powder

Close up picture

A card I made with some of the background

I then had another go doing some of it slightly different :-)

I started again stamping different leaves around with versamark

Then I chose some colours, I wanted them to represent autumn,
I checked my colours to see if they would go together on a scrap piece
of card, I was a bit scared lol as I was using 7 colours and
normally I only ever use 3 on anything I'm doing.

This is the next step that I missed in the earlier masterboard, I lay
each colour down in random areas, then when all the colours where
on I then went back and blended them together in the gaps.

I did the sprinkled water again, the white splodges are where
the distress ink was lifted by the water, I love the effect and to
be honest you could use the background just like this as I think
it looks great but I decided to carry on.  I wanted to use lots
of different things, so I used stamp n bond embossing powder
to add the mica pigment and the gold/autumn leaf, I also used
a gorgeous frantage aged red and aged gold embossing
powder and a normal copper and gold embossing powder.
I actually found this to be really relaxing, I took my time doing small areas
at a time, I even had breaks in between (as life/kids get in the way lol)
I also found the start on one stamp first in a corner, as if you don't
like the medium used i.e. gold leaf then you don't have to use that
small corner in the end, this was very true for the first background earlier,
I did take a picture of me doing the white embossing in the corner but the picture
was blurry oops.

This is after I had done all the above

Close picture, doesn't it look lovely, I fell in love lol

I decided to do one more step and stamped some images
in black archival.

Close Up

And the card!!! well you will have to pop on over to the Challenge Blog as I used it for my DT card :-) So why not pop on over there, look at what the DT have done with their backgrounds and have a go, trust me I was a newbie, I have wanted to have a go for ages but didn't as I was a bit scared but in the end I have really enjoyed doing all the background tutorials and really really loved doing the master board.  I shall be back in the week to show some more cards that I have made with the above masterboards to show you how simple they are to use to make quick and easy cards.  Thank you so much for taking the time to visit all my tutorials on backgrounds, I really do appreciate it.  Happy Crafting :-) Kerry xxx

Sunday 23 September 2012

Show ur Stash

Its Show ur Stash time :-)


This week we want to see your patterned paper stash

Here's how our DT ladies store their's


That's it from us DT girls, so how about you show us how you store your
Patterned Papers


Friday 21 September 2012

Patterned Paper - Changing them to make your own backgrounds

Hi, sorry I have been late posting this, I never realised how many backgrounds you can do lol.  This week I will be concentrating on changing patterned paper to make your own backgrounds.  The ideas I shall be showing you are just simple ideas to add your own bit of you on it :-)

Simple Dry embossing

 Simply emboss patterned paper

Close Up

Heat Embossing

 Heat Embossing Materials

Just adds some extra sparkle and interest to 
plain or busy papers

Stamping

Stamping Materials

One of my favourite techniques is to use my stamps
to uplift papers, I also usually pick stamps that
co-ordinate with the theme of my card

Stencils
Stencil Ideas


As you can see stencilling can really make plain patterned paper
really striking

White Patterned Paper

Simple white patterned paper is something I never tend
to use, but you find it normal is in pads you buy

This gave me the idea to try and spruce them up, I simply
coloured with promarkers or swished in some distress ink
and then used some sparkle on top

Sewing
You don't need to use a sewing machine instead just use
normal needle and thread.  I can't sew, and trying to get
a straight line is never going to happen, but I have
really started to enjoy using my machine, I just make
sure it looks like I was meaning to be wonky.

As you can see, it just gives the background a little
more interest, I also went around a word on the blue
paper, to pick the word out, which can make
it extra special

Painting

You can use any type of paint to uplift or tone down your papers

You can see that even the papers were bright by painting over them
or just the sides it's managed to tone down the bright busy paper
which sometimes without paint would be too much for a background

Doodling (something I haven't tried doing before)

Simple doodling with pens can give interest to backgrounds

You can see from below that it gives the papers some
fun features.  I only did dots and dashes and scalloped lines
but I know that there is certainly lots of doodling you can do.
Have a look next time your on the phone or thinking, you can
guarantee that at some point you have doodled on paper
while thinking or listening :-)

Sprays
Colourful Sprays


I use a cardboard box for spraying in :-)

I love sprays, and use them often, I love how they spread
all over the place or blog and splat in places.


 Cutting up papers
To make a chevron pattern

Cut 5 different pieces of patterned papers into strips
you also need to square pieces of white card

Start in the middle layering the strips down with glue, 
keep in the same pattern

Do another identical piece and then cut all the hanging pieces
of the base

Turn one of the squares of paper which then lines up together

Cut them both into strips all the same size

Now start piecing them together on a base

Cut out and add to card.  Also an idea is to cut patterned paper
with die shapes which also makes a fab background.

Right all finished lol, if you managed to get to the bottom that is lol.  My final week next week on backgrounds is doing masterboards, this is were you make up your own background on a large piece of paper which then can be cut down to add to several cards. Hope you enjoyed today, thanks for visiting and happy crafting :-) Kerry xxx